


 English
 Hungarian
 Indonesian
 Bulgarian
 Turkish
 Polish
 Russian
 Spanish
 Portuguese
 Korean
 French


Understanding Core Stenter Setting Parameters
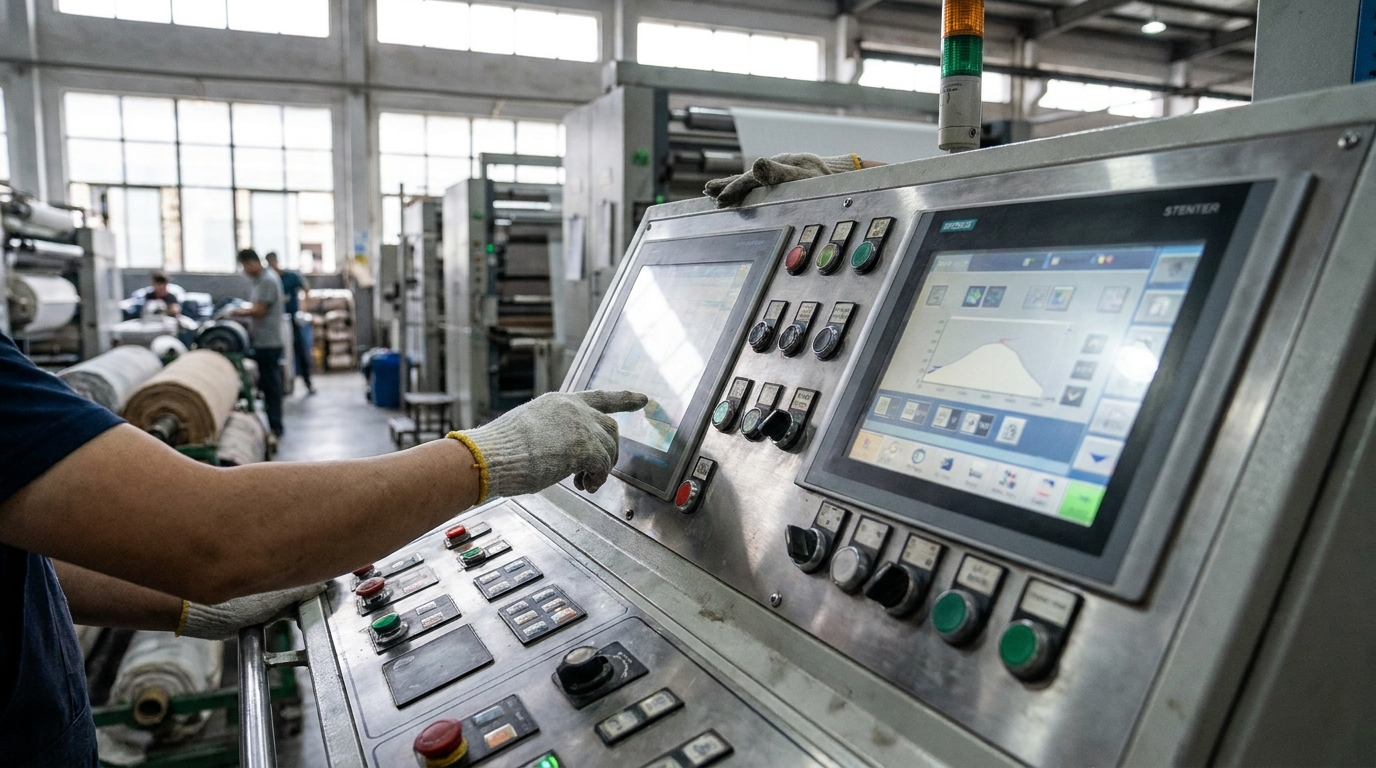
Stenter setting parameters are specific adjustments made during the finishing process to lock in the fabric structure. These settings directly dictate the dimensional stability, hand feel, and final grams per square meter (GSM) of your textiles. If one parameter is off, the entire fabric batch can suffer from shrinkage or a harsh texture.
Mechanical vs. Thermal Parameters
Fabric finishing relies on two main categories of settings: mechanical and thermal. Mechanical parameters, such as the overfeed percentage and the physical width of the pinning chains, physically manipulate the fabric as it moves through the machine. Thermal parameters, including the chamber temperature and the volume of hot airflow, alter the chemical bonds within synthetic or natural fibers. Balancing both categories is essential for properly treating drawn polyester or sportswear fabrics.
Testing with Reference Samples
Operators should never guess their initial production settings. Always start by evaluating a reference sample or a lab-dip. These small-scale tests show how specific yarns and knits react to applied heat and tension. Comparing the lab-dip to your target specifications helps you establish baseline parameters, preventing costly material waste before full-scale production begins.
Intelligent Parameter Control
Modern equipment removes much of the manual guesswork from this process. Advanced control systems maintain precise, consistent parameter delivery across every heating zone. This ensures that the heat and mechanical tension remain uniform from the first yard of fabric to the last.
Temperature Guidelines: From Polyester to Blends
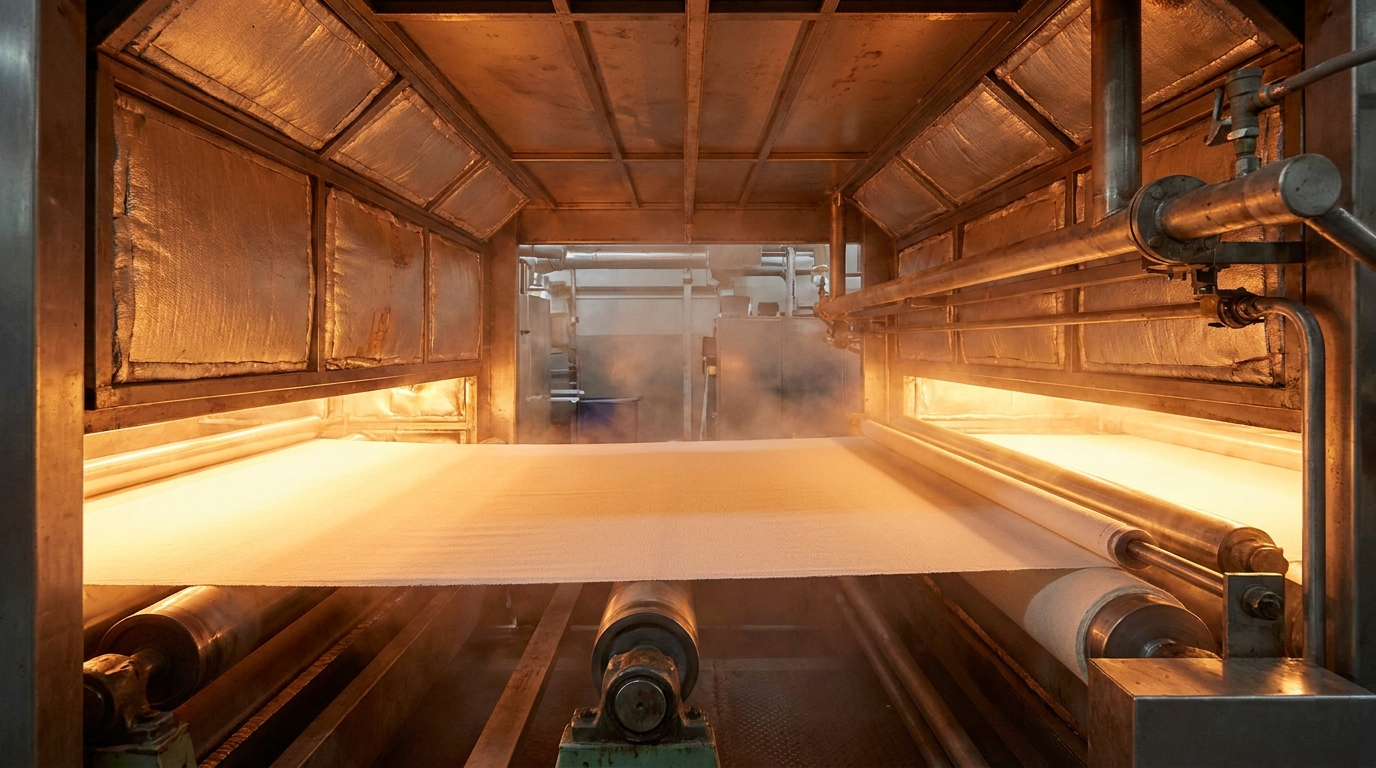
Heat is the primary force that locks a fabric into its final shape. As textiles pass through the heating chambers, thermal energy relaxes internal fiber tension, resetting the molecular structure of both synthetic and natural fibers. Once the fabric cools, these bonds harden to provide lasting dimensional stability.
Setting Temperatures for Polyester
Synthetic fabrics like drawn polyester require significant thermal energy to stabilize. The ideal stenter temperature setting polyester typically ranges between 190°C and 210°C. Performance knits, sportswear, and activewear fabrics rely on these higher temperatures to ensure the fabric will not shrink or warp during consumer washing.
Protecting Heat-Sensitive Blends
Working with mixed fibers requires a careful balancing act. When determining the heat setting temperature for blends, always protect the most heat-sensitive material in the mix. For example, excessive heat will destroy the spandex elasticity in a polyester-spandex knit. In poly-cotton fabrics, pushing temperatures too high will scorch the natural cotton fibers.
| Fabric Type | Typical Temperature Range | Key Considerations |
|---|---|---|
| 100% Polyester | 190°C – 210°C | Requires high heat for molecular locking. |
| Polyester/Spandex | 180°C – 190°C | Keep below 195°C to preserve elasticity. |
| Cotton/Polyester | 160°C – 180°C | Monitor closely to prevent cotton yellowing. |
Risks of Incorrect Heat Application
Guessing your thermal parameters leads to immediate quality failures. If the chambers are too hot, synthetic fibers can melt and natural fibers will yellow. If the temperature is too low, the fabric retains its internal tension, resulting in poor dimensional stability. Fabrics processed at insufficient temperatures will consistently fail rigorous ISO and OEKO-TEX shrinkage tests.
Calculating the Stenter Overfeed Percentage
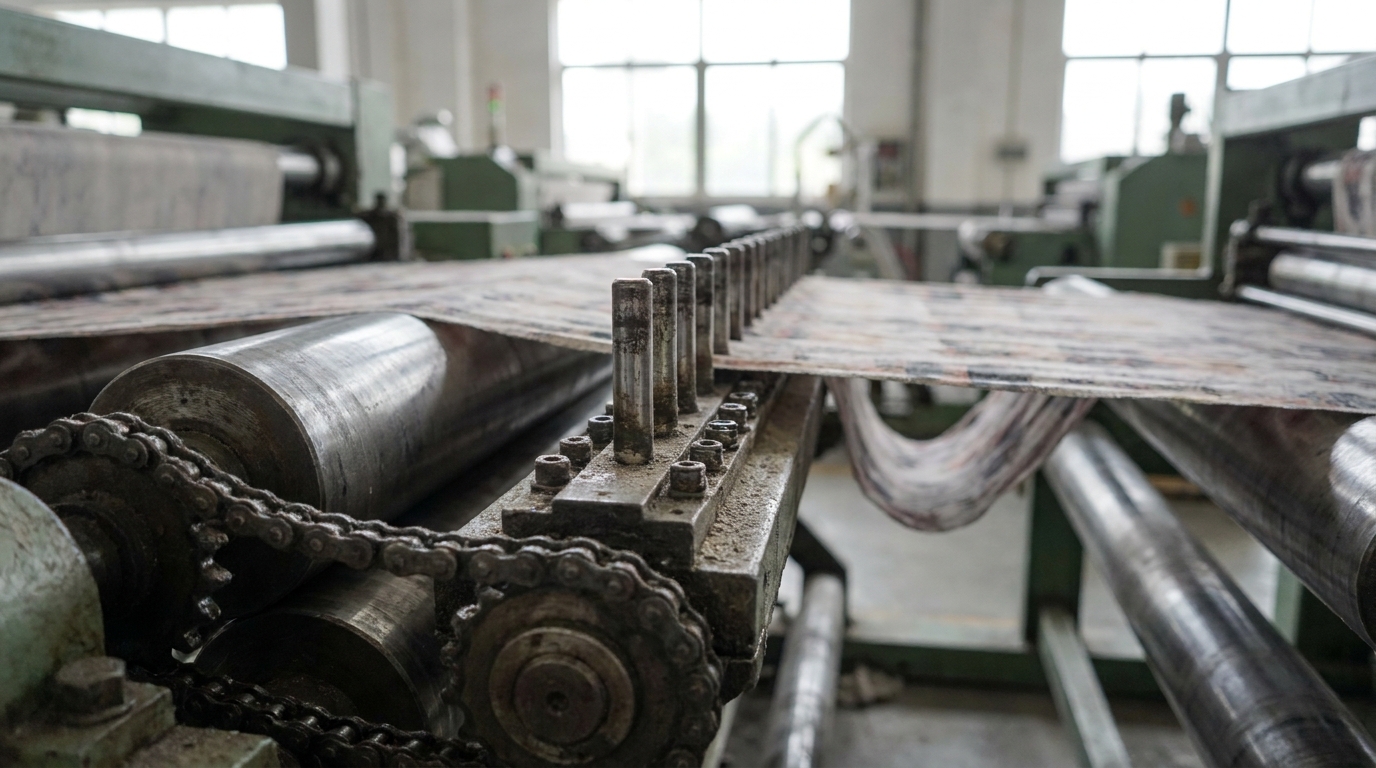
Overfeed is a crucial mechanical parameter in textile finishing. It involves feeding the fabric onto the pin or clip chain faster than the chain itself is moving, allowing the fabric to relax longitudinally. Conversely, underfeed pulls the fabric tighter, stretching it lengthwise.
Balancing Shrinkage and GSM
The stenter overfeed percentage directly impacts fabric shrinkage and the final Grams per Square Meter (GSM). Increasing the overfeed packs more yarn into a given area. This action increases the fabric’s GSM and reduces future lengthwise shrinkage. If a fabric requires a heavier feel, operators must increase the overfeed percentage.
Adjusting for Dimensional Stability
Achieving maximum dimensional stability requires careful overfeed adjustments, especially for sportswear and activewear fabrics. First, measure the fabric’s natural relaxation state. Next, set the feed rollers to match this relaxed length. Gradually increase the feed rate during the lab-dip phase until the fabric hits the target GSM without sagging.
Avoiding Common Tension Mistakes
Dialing in the wrong settings creates immediate production issues. Excessive overfeed pushes too much fabric onto the pins, causing severe fabric bunching and edge curling in the heating chambers. If the tension is uneven across the width, knit fabrics will suffer from bowing or skewing, distorting the horizontal yarns into an uncorrectable curve or a diagonal slant. Always monitor the fabric exit to catch these mechanical defects early.
Techniques for Precise Stenter Width Control
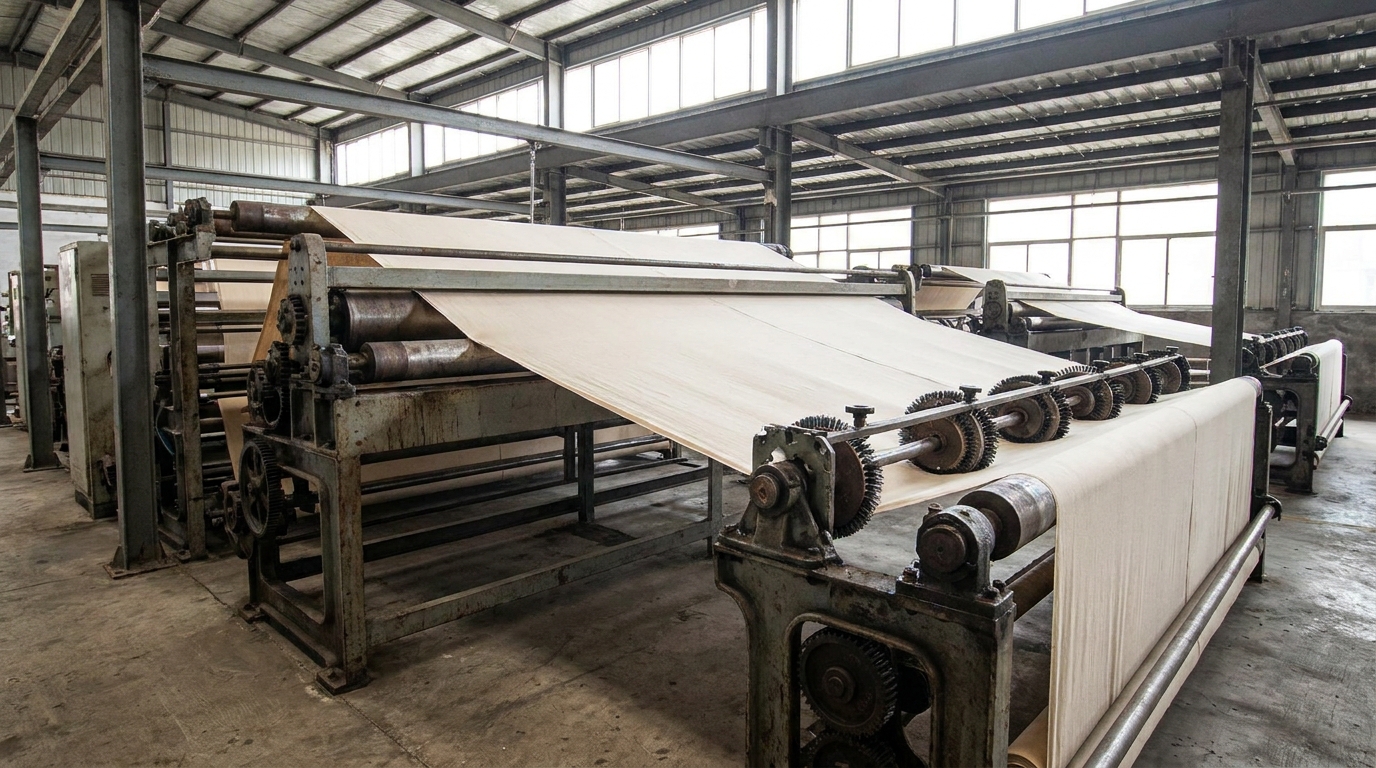
Effective stenter width control relies on several mechanical components working together. First, the uncurler flattens the fabric edges before they reach the pinning zone. Next, the pinning wheels firmly press the textile onto the pin chain. As the fabric enters the heating chambers, the diverging and converging chain rails dictate the actual width, moving outward to stretch the fabric or inward to let it relax.
Calculating Your Width Parameters
Operators must calculate the target width carefully. Start by measuring the incoming greige fabric width and compare it to your required finished width and the natural elasticity of the yarn. If the greige fabric is significantly narrower than the target, widen the chain rails gradually. Sudden outward movements will damage the weave. Always run a reference sample to verify the final dimensions before full production.
Managing High-Stretch vs. Rigid Fabrics
Different textiles react uniquely to horizontal tension. Rigid woven fabrics offer very little structural give, and pushing them beyond their limit will quickly snap the yarns. In contrast, high-stretch performance knits require careful handling to prevent extreme distortion. Sportswear fabrics easily expand but may thin out excessively if the rails widen too far. Adjust the rails based on the specific fiber composition.
Balancing Width Expansion with Overfeed
Width expansion directly interacts with the overfeed percentage. When you stretch a fabric horizontally, it naturally shrinks vertically. To maintain the correct GSM and prevent tearing, you must increase the overfeed to compensate for the extra width. Failing to balance these two forces destroys the fabric’s structural integrity. Synchronizing these mechanical settings ensures smooth, defect-free finishing.
Practical Steps for Setting Up the Stenter Machine
Setting up your equipment correctly guarantees consistent fabric quality. Follow these sequential steps to configure your machine for optimal performance before processing large orders.
Step 1: Pre-Production Checks
Proper preparation is essential. Start by reviewing the fabric composition and your reference sample to determine the exact required finish for the current batch. Are you performing dye fixation, or purely heat setting? Check the lab-dip results to understand the yarn behavior. Confirming these details prevents costly errors during the finishing process.
Step 2: Inputting Parameters
Next, move to the main machine control panel. Enter your calculated temperature, stenter overfeed percentage, and width settings. Ensure the heating chambers are set to the correct thermal zones. Double-check that the uncurler and pinning wheels align with your target dimensions. Proper stenter width control starts at this digital interface.
Step 3: Trial Run
Never start a full production batch without testing. Process a short length of fabric through the machine first. Once this sample exits, perform immediate quality testing. Measure the final GSM, verify the finished width, and test the sample for lengthwise shrinkage. This physical test confirms if your mechanical settings match your initial calculations.
Step 4: Micro-Adjustments
Review the data gathered from your short trial run. If the GSM is too low, increase the overfeed slightly. If the fabric feels too stiff, lower the temperature. Make these micro-adjustments one at a time based on the trial results. Run another short sample if the changes are significant. Once the fabric meets required ISO or OEKO-TEX standards, begin the full batch.
Frequently Asked Questions About Stenter Machine Parameters
What happens if the stenter temperature is set too high?
Setting the temperature too high can permanently damage your textiles. For synthetic materials like pure polyester, excessive heat can cause the fibers to melt. When working with natural fibers like cotton, high temperatures will scorch and yellow the fabric. In blends containing spandex, too much heat destroys the elasticity. Always identify the most heat-sensitive fiber in your fabric and keep the temperature below its damage threshold.
How does the overfeed percentage affect fabric GSM?
The overfeed percentage directly controls the final Grams per Square Meter (GSM) of your fabric. By feeding the fabric onto the pins faster than the chain moves, you pack more yarn into a smaller area. This mechanical adjustment increases the fabric’s weight and thickness while reducing future lengthwise shrinkage. If a fabric feels too light or fails shrinkage tests, increasing the overfeed will help it reach the target GSM.
Can I use the same heat settings for 100% polyester and polyester blends?
No, you cannot use the same settings. Pure polyester requires high temperatures between 190°C and 210°C to safely lock the molecular structure. However, polyester blends include other fibers that cannot survive this intense heat. For example, a polyester-spandex blend must stay below 195°C to protect the stretchy spandex. A cotton-polyester blend should be processed between 160°C and 180°C to prevent the cotton from yellowing.
Why is a lab-dip necessary before running a full fabric batch?
A lab-dip or reference sample acts as a small-scale test to see how specific yarns react to heat and tension. Guessing your initial parameters often leads to incorrect GSM, severe shrinkage, or harsh textures. Testing a sample first allows you to establish accurate baseline settings for temperature, width, and overfeed. This crucial step prevents costly material waste and ensures the final product meets strict quality standards.
How do modern stenter machines maintain consistent fabric parameters?
Modern equipment removes the manual guesswork from textile finishing. Advanced control systems constantly regulate heat across every thermal zone and maintain exact mechanical tension. This technology ensures that the temperature, width, and overfeed remain perfectly uniform from the first yard of fabric to the last, resulting in defect-free production.
Conclusion
Achieving optimal fabric finishing requires a careful balance of temperature, overfeed, and width. Always test and document these settings for different fabric types to ensure consistent results. Upgrading to intelligent equipment, like the stenter machines from SutexMach, provides the precision needed for high-quality production.
- Run trial tests before full production.
- Document optimal settings for each fabric blend.
- Explore SutexMach stenter machines for your mill.