


 Hungarian
 English
 Indonesian
 Bulgarian
 Turkish
 Polish
 Russian
 Spanish
 Portuguese
 Korean
 French


Tudta, hogy a többi adag újrafestése 300%-tal növeli a költségeket? A hibátlan szín elengedhetetlen a textilipar sikere szempontjából. Sajnos a festési hibák rontják az anyag minőségét és csökkentik a nyereséget. Ezeket a drága gyártási hibákat meg kell oldanunk. Ebben a bejegyzésben megtudhatja, hogy milyen okok vezetnek a szövetfestési hibákhoz, valamint megismerheti a megoldásokat és javítási módszereket.
Understanding the Root Causes of Fabric Dyeing Defects
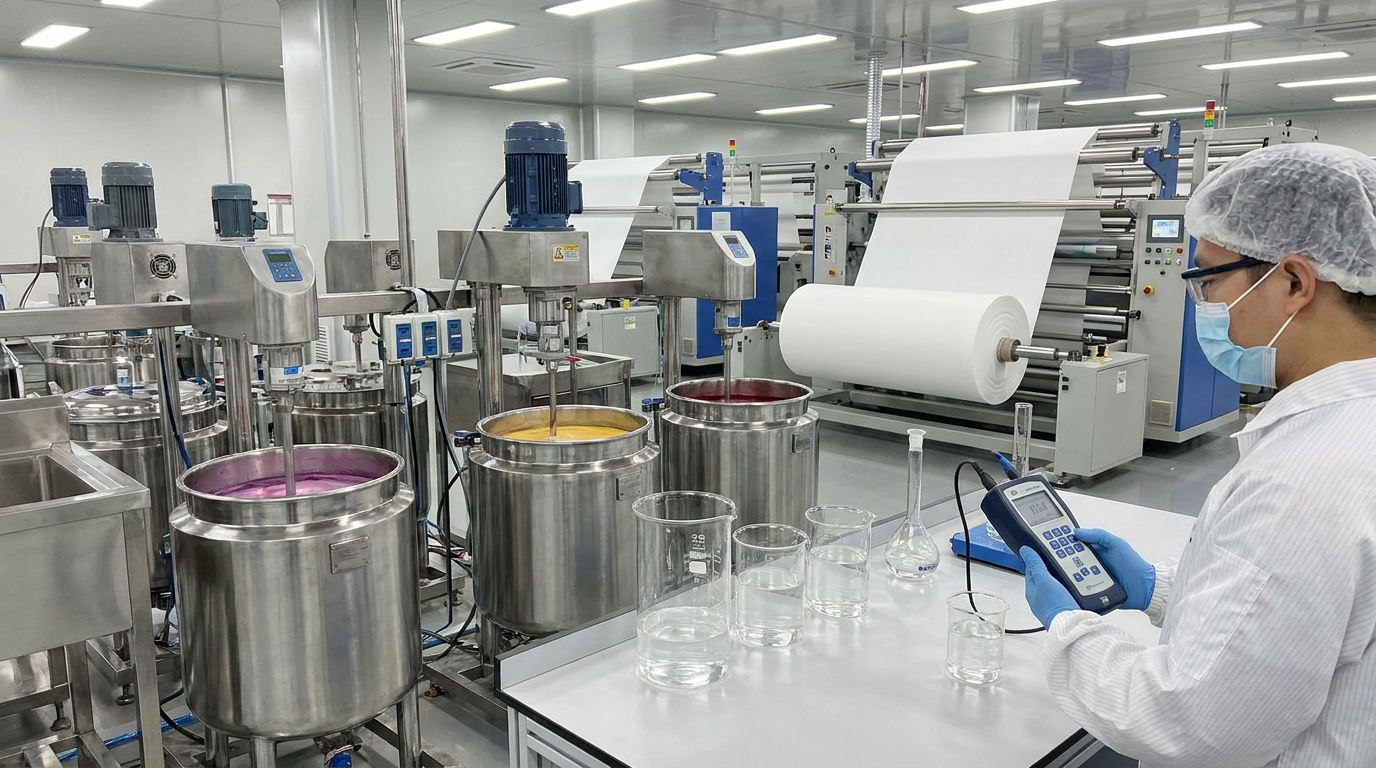
To prevent those massive 300% cost spikes, we must first look at where things go wrong. Fabric dyeing defects rarely happen without a clear reason. They usually stem from four main areas. These include pre-treatment, water quality, chemical mixing, or the machines themselves. Let’s break down these root causes.
Pre-treatment Failures: A Poor Foundation
Successful dyeing requires a clean slate. Skipping steps in desizing, scouring, or bleaching sets the stage for failure. Residual starch, natural waxes, or oil spots block dyes from entering fibers evenly. Uneven bleaching creates a patchy base. Moisture regain also matters heavily before dyeing. Cotton holds 8.5% moisture, while polyester holds just 0.4%. Variations here lead directly to uneven dye uptake.
Water Quality and Metallic Ions
Water serves as the primary medium for both exhaust and continuous dyeing. Its quality dictates your success. Water hardness must stay below 50 ppm (parts per million). Hardness above this level causes dye precipitation. This leads directly to foltok festéke a szöveten, also known as speckiness. Heavy metals like iron or manganese in well water will dull bright shades. You must use sequestering agents to bind these metallic ions.
Dye and Chemical Formulation
Incorrect dye selection or poor solubility ruins batches quickly. Reactive dyes need alkaline conditions around pH 10.5 to 11.0. Disperse dyes require acidic baths near pH 4.5 to 5.5. Mixing these up causes hydrolysis or poor fixation. Inaccurate weighing of salt or electrolytes also triggers unlevelness. Standard salt concentration ranges from 30 to 80 g/L depending on shade depth.
- The 10/30/60 Rule: Add salt and alkali in increments (10%, then 30%, then 60%). Do not dump them all at once. This ensures level dye exhaustion.
Equipment Limitations and Machine Faults
Outdated machinery struggles to maintain consistent conditions. Fluctuating nozzle pressure, poor reel speed synchronization, and tension imbalances cause shade variation. Temperature control proves equally critical. The standard heating or cooling rate is 1 to 2°C per minute. Exceeding this rate causes thermal shock and uneven dye migration.
Upgrading your production line solves many physical faults. SutexMach has manufactured intelligent textile machinery since 1985. Our high-automation dyeing machines and stenters deliver stable performance and precise temperature control. Reliable equipment eliminates the mechanical inconsistencies causing these costly defects.
| Root Cause Area | Specific Issue | Resulting Defect |
|---|---|---|
| Pre-treatment | Incomplete scouring or residual wax | Patchy dye uptake, light spots |
| Water Quality | Hardness above 50 ppm | Dye precipitation, speckiness |
| Chemicals | Dumping salt/alkali all at once | Rapid exhaustion, unlevelness |
| Felszerelés | Heating faster than 2°C per minute | Thermal shock, shade variation |
Common Dyeing Defects and Remedies

As we covered earlier, mechanical faults and chemical imbalances lay the groundwork for production failures. When these variables slip out of control, specific faults appear on the material. Let’s explore specific gyakori festési hibák és javítási módszerek to help you salvage batches and prevent future losses.
Uneven Dyeing (Levelness Issues)
Uneven dye distribution ruins the visual appeal of any textile. It often happens when operators push machines too hard. Rapid heating rates force the dye into the fibers too quickly. Improper dye exhaustion and poor liquor circulation also cause severe árnyalatváltozás a festés során.
To fix this, you must control the temperature gradient. Keep heating rates strictly between 1 and 2°C per minute. Use high-quality leveling agents to slow down initial dye uptake. You should also check your liquor ratio (M:L). Standard ranges fall between 1:5 for low liquor and 1:20 for high liquor setups. Incorrect ratios guarantee poor exhaustion and unlevel results.
Crease Marks and Rope Marks
Physical marks on the fabric are notoriously hard to fix. Crease and rope marks usually stem from thermal shock. This happens when you cool the dye bath too fast after high-temperature cycles. Poor fabric handling inside the machine also folds the material permanently.
Apply gradual cooling techniques to prevent thermal shock. You must adjust machine nozzle pressure so the fabric moves smoothly without twisting. Adding anti-creasing agents to the bath provides extra lubrication. Upgrading your equipment helps immensely here. SutexMach jet dyeing machines feature precise nozzle control and automated tension regulation. Our intelligent machinery ensures smooth fabric handling to eliminate physical crease marks before they form.
Patchy Dyeing
Patchy areas look like random light or dark clouds on the material. They often trace back to improper dye mixing. If dye powders do not dissolve fully, they strike the fabric in concentrated bursts. Uneven moisture content before dyeing acts as another major culprit. As noted previously, cotton holds 8.5% moisture natively. If one section of the roll is wetter than another, it absorbs dye differently.
You can remedy this by standardizing your dye preparation process. Dissolve all dyes completely before dosing them into the main tank. Ensure your pre-treatment routines deliver uniform moisture across the entire batch. Consistent preparation guarantees a level strike.
| Defect Type | Primary Causes | Immediate Fixes & Remedies |
|---|---|---|
| Uneven Dyeing | Rapid heating, poor liquor circulation | Apply leveling agents, optimize liquor ratio |
| Crease Marks | Thermal shock, improper nozzle pressure | Cool gradually, use anti-creasing agents |
| Patchy Dyeing | Undissolved dye, uneven moisture | Standardize mixing, ensure uniform pre-treatment |
Tackling Shade Variation in Dyeing
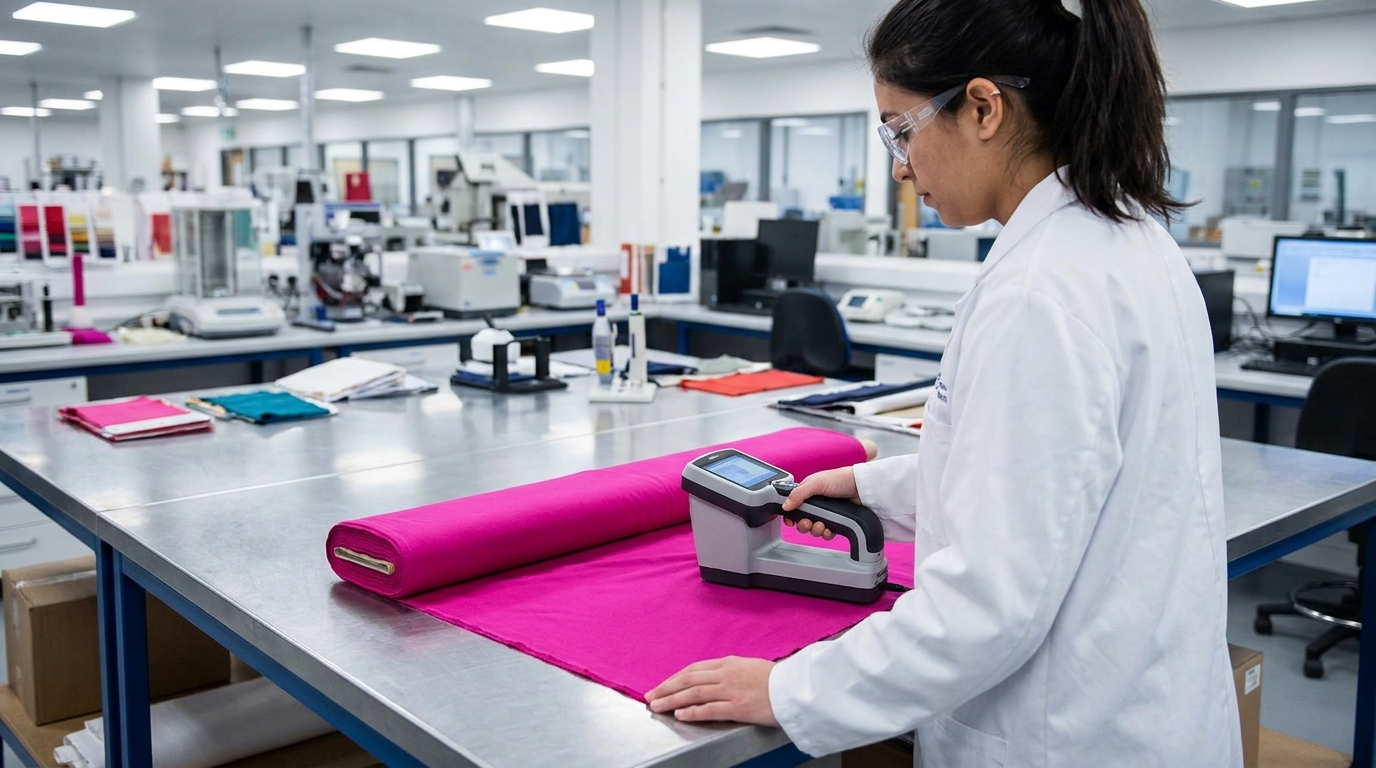
We just explored how mechanical faults create crease marks and patchy spots. However, even without physical marks, color inconsistencies can ruin a perfectly smooth fabric roll. Tackling shade variation remains a massive challenge for textile mills. Let’s look at why colors shift and how to lock them in.
What is Shade Variation?
Shade variation happens when the final color does not match the approved standard. It also occurs when color differs across the same fabric roll. We categorize these inconsistencies into three main types. Batch-to-batch variation means two different runs of the same recipe look entirely different.
Center-to-selvedge variation is commonly known in the industry as “listing.” It means the edges do not match the middle of the fabric. End-to-end variation is called “tailing.” This happens when the start of a roll is lighter or darker than the end. The industry uses Delta E (ΔE) to measure these differences mathematically. A ΔE score above 2.0 is highly visible to the naked eye. You should aim for a ΔE below 1.0 to pass strict quality control.
Core Causes of Color Shifts
Several factors push your color scores out of acceptable ranges. First, inconsistent dye lots and chemical concentrations throw off the entire bath. If operators weigh dyes poorly, the final shade will shift. Second, uneven fabric tension during processing stretches the fibers. Stretched fibers absorb dyes differently than relaxed ones.
Finally, temperature fluctuations across different zones of the dyeing machine cause uneven fixation. As we covered earlier, strict temperature control is mandatory for level results. If one side of the machine runs hotter, that specific side will exhaust dye much faster.
How to Prevent and Fix Shade Variation
Finding reliable festési problémák és megoldások requires strict process control. Start by implementing strict color matching protocols in your lab. You must use standardized dye recipes for every single run. Calibrate your spectrophotometer regularly to ensure accurate readings. Next, ensure uniform fabric tension throughout the entire dyeing cycle. You should adjust padding mangle pressure evenly to prevent center-to-selvedge listing.
Upgrading your equipment provides the most permanent fix for temperature and tension faults. You need high-automation machines with precise, computerized control systems. SutexMach provides one-stop solutions for intelligent textile machinery. Our dyeing machines feature automated tension regulation to handle fabrics gently. They also maintain exact temperature benchmarks across all heating zones. This stable performance helps your mill reproduce perfect shades batch after batch.
| Variation Type | Industry Term | Primary Cause | Prevention Strategy |
|---|---|---|---|
| Center-to-Selvedge | Listing | Uneven padding mangle pressure | Calibrate machine pressure evenly |
| End-to-End | Tailing | Temperature drops during the run | Use high-automation machines with zone control |
| Batch-to-Batch | Poor Reproducibility | Inconsistent dye lots or weighing errors | Standardize recipes and lab protocols |
Eliminating Dye Spots on Fabric
We just discussed how temperature drops and tension faults cause shade variation across a roll. However, even perfect tension and temperature control cannot save a batch from localized spotting. These random dots and stains immediately downgrade fabric quality. You must eliminate them to maintain profitability.
Identifying the True Nature of the Spot
You cannot fix a spot until you know its origin. Differentiating between color spots, chemical spots, and oil marks is your first step. Color spots look like dark, concentrated dots of the actual dye shade. They usually point to chemical mixing errors. Chemical spots often appear white or crusty. They result from precipitated salts or poorly dissolved leveling agents.
Oil and grease spots look dark and repel water. They often stem from machine lubrication leaks. Sometimes they come from natural waxes left behind during pre-treatment, as we covered earlier. If spots persist across multiple runs, try a “blind dyeing” test. Run the machine with chemicals and water, but no fabric. This reveals hidden machine contamination quickly.
Why Do Spots Appear During Dyeing?
Several process failures lead directly to spotting. Undissolved dye particles act as the most common culprit. If you do not dissolve powder dyes completely, they clump together. This agglomeration strikes the fabric in concentrated bursts. Poor water filtration also causes major headaches. Sediment and rust from old pipes deposit directly onto the material during the cycle.
Machine contamination from previous batches ruins new runs. If operators fail to clean a jet dyeing machine after running a deep black shade, residual dye remains. These leftover particles will inevitably stain the next light-colored batch.
Actionable Fixes for Spotting Issues
You must attack these causes proactively to protect your production line. First, improve your dye solubility. Always dissolve dyes fully in a separate tank before dosing. Add high-quality dispersing agents to keep particles suspended in the bath.
Next, upgrade your water filtration systems. Install heavy-duty filters on your incoming water lines to catch physical sediment. You must also implement strict machine cleaning protocols. Standardize a high-temperature boil-out procedure between major color changes.
Reliable equipment makes this process much easier. SutexMach has engineered intelligent textile machinery since 1985. Our dyeing machines feature high automation and self-cleaning capabilities. This stable performance ensures no residual dyes contaminate your next batch. Upgrading to modern, automated systems eliminates the manual errors causing these stubborn spots.
| Spot Type | Visual Characteristics | Common Cause | Immediate Solution |
|---|---|---|---|
| Color Spots | Dark dots matching the dye shade | Undissolved dye agglomeration | Use dispersing agents and mix fully |
| Chemical Spots | White, chalky, or crusty marks | Precipitated salts or auxiliaries | Follow the 10/30/60 dosing rule |
| Oil/Grease Spots | Dark, water-repellent patches | Machine leaks or residual wax | Fix machine seals, improve scouring |
| Contamination | Random colors from prior batches | Poor machine cleaning | Run a high-temp blind dyeing boil-out |
Other Critical Dyeing Problems and Solutions
We just covered how to eliminate localized spots and prevent machine contamination. However, a clean, uniform fabric roll can still fail quality control if it suffers from other hidden issues. Understanding fabric dyeing defects: causes, solutions, and fixes requires looking beyond just spots and stains. Let’s explore a few more critical defects ruining otherwise perfect batches.
Color Bleeding and Poor Color Fastness
Why does color rub off on white clothes? This frustrating issue points directly to poor color fastness. It happens when unfixed surface dyes remain on the material after the cycle ends. Deep shades like navy or black are especially prone to this bleeding. Inadequate after-treatment processes usually cause the problem.
You must remove these loose dye particles completely. Apply a rigorous washing-off process using hot water and specialized soaping agents. Afterward, use high-quality dye-fixing agents. These chemicals lock the remaining color into the fibers. Proper fixation prevents color transfer during consumer use.
Pilling and Surface Fuzzing During Dyeing
Sometimes the color looks great, but the fabric texture gets ruined. Pilling and surface fuzzing occur when fibers break and tangle together. Excessive mechanical friction inside the machine causes this damage. Running unnecessarily long processing times also wears down the material.
You can prevent this by adding specialized lubricants to the dye bath. These reduce friction as the fabric moves. You should also optimize your recipes to reduce overall cycle times. Upgrading to modern equipment helps immensely here. SutexMach designs intelligent dyeing machines handling fabrics gently. Our highly automated systems optimize processing times and maintain stable performance. This reduces mechanical wear and preserves fabric integrity.
Specky Dyeing
As we covered earlier, water quality heavily impacts your final product. Specky dyeing looks like tiny, concentrated dots of color across the fabric. Hard water interference remains a primary cause. If water hardness exceeds 50 ppm, dyes precipitate out of the solution. Improper dye dispersion also creates these stubborn specks.
To fix this, you must ensure dyes dissolve completely before injection. Always use a separate mixing tank. You must also add sequestering agents to the bath. These chemicals bind to metallic ions in hard water. They prevent the ions from interfering with dye solubility. Consistent chemical preparation eliminates speckiness entirely.
| Defect Type | Primary Causes | Effective Fixes |
|---|---|---|
| Color Bleeding | Unfixed surface dyes, poor after-treatment | Apply rigorous washing-off and dye-fixing agents |
| Pilling / Fuzzing | Excessive friction, long cycle times | Use bath lubricants, reduce processing time |
| Specky Dyeing | Hard water, improper dye dispersion | Add sequestering agents, dissolve dyes fully |
Preventing Defects with SutexMach Intelligent Textile Machinery
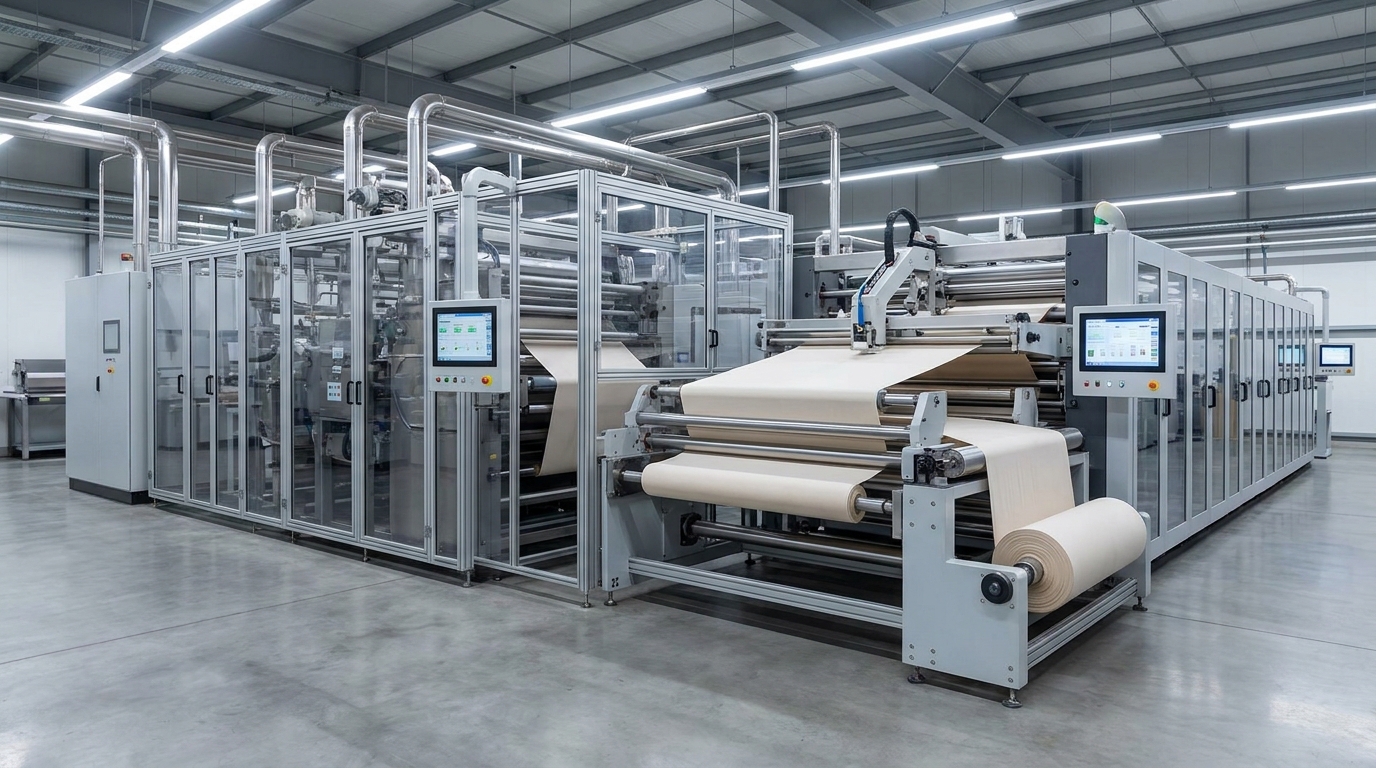
We just covered how mechanical friction and hard water cause pilling and specky dyeing. Proper chemical mixing certainly helps immensely. However, relying on manual control still leaves massive room for human error. Operators cannot monitor every temperature zone simultaneously. You need advanced equipment to eliminate these variables completely. Automated machinery guarantees the stable performance required in modern textile mills.
Upgrading Your Dyeing Capabilities
Upgrading your production line solves these physical faults permanently. SutexMach dyeing machines feature high automation to handle complex recipes. As we covered earlier, strict temperature benchmarks are mandatory. Our equipment delivers precise temperature control across the entire cycle. This prevents the thermal shock responsible for crease marks. Furthermore, our systems optimize liquor circulation. Proper liquor ratios prevent rapid dye exhaustion. This eliminates uneven dyeing and shade variation effortlessly.
Energy Efficiency and Environmental Friendliness
Modern mills must also consider their environmental impact. Outdated machines consume excessive water and power. SutexMach designs equipment focusing strictly on energy efficiency and environmental friendliness. Our intelligent systems improve dye exhaustion rates significantly. Better exhaustion means fewer unfixed surface dyes remain in the bath. This directly reduces water waste during the washing-off process. You lower your environmental footprint while maintaining flawless color quality.
Comprehensive Fabric Finishing Solutions
Perfect color means nothing if post-dyeing processes ruin the fabric texture. Drying and finishing require just as much precision. We offer comprehensive solutions for your entire production line. Utilizing SutexMach’s stenter and drying machines ensures uniform moisture removal. This prevents the dye migration issues we discussed previously. Our finishing lineup handles materials gently to prevent surface fuzzing. We manufacture specialized equipment to lock in perfect fabric quality post-dyeing, including:
- Stenter Machines: Regulate tension and heat for dimension stability.
- Drying Machines: Remove moisture evenly to prevent color migration.
- Calendering and Sueding Machines: Enhance fabric hand-feel and surface smoothness.
- Dewatering and Air-Softening Machines: Extract water efficiently without mechanical damage.
The SutexMach Advantage
Building a reliable production line takes expert guidance. SutexMach brings over 30 years of experience to your mill. Founded in 1985, we operate as a professional manufacturer of intelligent textile machinery. We are proudly affiliated to Jiangsu SoHo Honry Import & Export Co., Ltd. Our team offers complete one-stop solutions for global textile manufacturers. We guide you through machine selection and customization. We also handle complete installation and provide dedicated after-sales service. Our reliable equipment helps textile mills build complete, highly efficient production lines.
| SutexMach Technology | Targeted Dyeing Defect | Production Benefit |
|---|---|---|
| Pontos hőmérséklet-szabályozás | Crease marks and thermal shock | Ensures gradual heating and cooling |
| Optimized Liquor Circulation | Shade variation and uneven dyeing | Maintains consistent dye exhaustion |
| High Automation Systems | Human error and batch variations | Delivers stable performance globally |
| Advanced Stenters & Dryers | Post-dyeing color migration | Provides uniform moisture removal |
Következtetés
Mastering fabric dyeing defects causes, solutions, and fixes prevents costly errors.
Combine accurate chemical formulas with standardized procedures for true success.
Upgrade to SutexMach’s eco-friendly machinery for flawless textile dyeing results.
- Audit your plant water filtration system this week.
- Standardize your daily chemical mixing protocols right now.
- Contact SutexMach to explore intelligent textile machinery upgrades.
Frequently Asked Questions About Fabric Dyeing Defects
Why is my dyed fabric patchy or uneven?
Patchy fabric usually happens because of rapid dye absorption. Poor leveling agents can also cause this problem. Improper pH control is another common reason. You must maintain the right liquor ratio. Adding salt in increments helps ensure levelness. Use the 10/30/60 rule for chemical dosing. Reliable dyeing machines from SutexMach provide stable performance for even results.
What causes color to rub off on white clothes?
Color rubbing off is commonly known as crocking. This defect indicates very poor wash fastness. It means unfixed surface dyes remain on the fabric. This issue is common in deep shades like navy. You must wash and soap the fabric thoroughly after dyeing. Proper fixation chemicals will also prevent color transfer.
How can I prevent center-to-selvedge color variation?
This specific defect is often called listing. You must check the padding mangle pressure first. Uneven heat distribution in your stenter machine causes this too. SutexMach offers advanced stenter machines with excellent heat control. Good equipment ensures uniform drying across the entire fabric width. Always calibrate your machines regularly to avoid this issue.
How do you fix a fabric batch that is too dark?
You can fix dark batches using leveling agents. Apply these agents at high temperatures to level back colors. You can also use mild stripping agents like caustic soda. Remember that stripping increases production costs significantly. It can also reduce fabric strength by up to 15 percent. Always try partial stripping before attempting full stripping.
Why do white spots appear on dyed fabrics?
White spots often come from immature fibers called dead cotton. Air bubbles inside the dyeing machine can block dye uptake. Undissolved dye particles will also leave light spots. Hard water above 50 ppm causes dye precipitation and speckiness. You should use a sequestering agent to treat hard water. Proper scouring before dyeing removes wax and oils effectively.
Take these steps to improve your dyeing process immediately:
- Test your water hardness daily to keep it below 50 ppm.
- Dose salt and alkali slowly using the 10/30/60 rule.
- Upgrade to SutexMach intelligent dyeing machines for better process control.
- Perform a blind dyeing test to check for machine contamination.